
| Back to Print Stuff ! | - | Introduction | - | Before You Begin | - | Attention Grownups! | - | Pieces to print |
 |
Chamberlain Xerxes Marsupial ( zerk - seez - mar - soup - eee - uhl ) Presents to you, this visual guide for assembling your Theater. Please ask a Grownup to review these instructions with you, agreed? |
|
|
We must begin with the most important instructions of all! Be careful with all of the tools you use. As my old friend Thermopoleez said to me when we were riding into Rome one rainy day, "Xerxes", he said, " No miniature theatre is worth a cut finger. Don't be a big shot, use a good pair of safety scissors." Secondly, Have Fun and Take your time! The BEST way to enjoy the building of your theater is by working carefully and slowly. There is no time limit for finishing it and no game clock running. |
   |
Please remember that you can make as many mistakes as you would like! ( I certainly did. ) The Pages for all of the theater parts will remain for you to print out again if you need them. And Thirdly, PLEASE remember that you must Clean Up your building area when you are finished working. Theater building makes a BIG MESS. ( I once left all my tools and scraps behind after I finished, and I was banished from the Kingdom for a week. ) |
|
1.) The 11 sheets of 8 1/2" by 11" inch full page Peel-and-Stick labels.* ( The Actors can be printed on regular paper.) 2.) A simple classic school ruler with a metal straight edge. 3.) A GOOD pair of safety scissors. - blunt ends and wide blade guards. 4.) Clear Adhesive tape. (And if you can get one, a nice solid dispenser that stays still when you take a piece.) |
5.) 11 pieces of thin cardboard, large enough to back the theater pieces. 6.) Some old newspaper pages to spread out and work on. 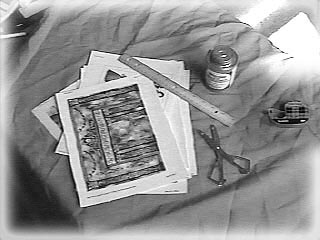 |
|
Now, I know what you are saying. You are saying: "Xerxes, I can get a ruler, safety scissors, full page labels and tape, But where can I get thin card board?" Well my friend, the answers are: Poster Board from your local supermarket OR The fronts and backs of square boxes. |
|
The scenery and Theater parts pages that you print are a good starting point, but they must be backed up by a stiffer material. I tried to make this Theater once, using only the plain paper with no backing. It was very difficult to work with. It also did not stand up well, nor did it last very long. - It is necessary to apply the pages to a thin layer of cardboard. As you saw on page one, Poster Board is the best to use, but cereal box cardboard will serve also. ( In fact, that is what I use in my example illustrations.)
|
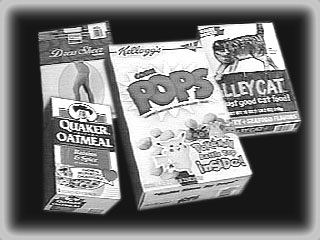
If you do not have poster board, gather empty boxes, like cereal boxes or Cat food boxes etc. - and cut away the fronts and backs. Larger sized boxes work best, but some of the Theater parts are small, and don't need large pieces. 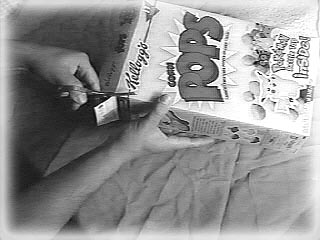
Important tipYou will truly regret emptying the food out of these boxes in order to get the cardboard. To avoid BIG TROUBLE, ask for the boxes when they are already empty and about to be thrown away. It can be helpful to tape a small note to the box as a reminder. |
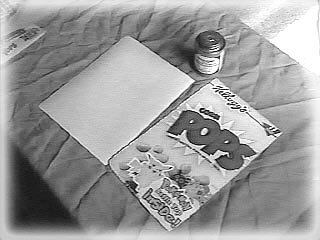
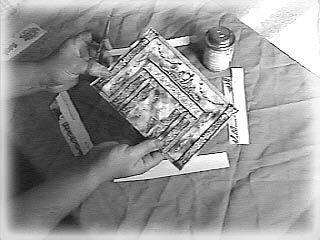
With Your cardboard and printed page side by side, it's time to peel off the backing of the full page label, carefully line it up and apply it to the cardboard ! |
Now then,
I usually like to get all of the printed
pages onto the
cardboard ( except the actors ) before I begin cutting, but you don't
have
to wait. You can cut them out as they become available. It is up to
you.
A good general rule when cutting out the scenery and theater pieces, is
to leave the printed parts and cut away the clear blank white areas.
When you cut out the pieces:
- Always keep your fingers out of the way .
- Work Slowly. You will have more control .
- If you are cutting along a line, keep
your eyes on
where you are about to cut, not where you have already cut .
- Remember that adhesive tape can fix a
LOT of mistakes.
 |
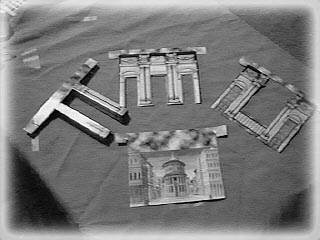 |
Before long, You will have all of your pieces ready to go!
© 2000 - Anim5