| Back to Print Stuff ! | - | Introduction | - | Before You Begin | - | How to Build 1 - 2 - 3 | - | Pieces to print |
Countess
Leona Lederlander
Presents to you, this visual guide
|
|
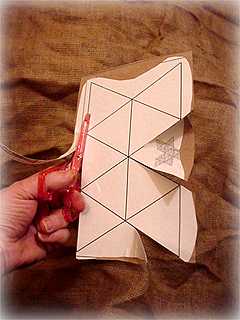
We must begin with the most important instructions of all! Be careful with all of the tools you use. As my old friend Xerxes said to me when we were riding out of Paris one sunny day, "Leona", he said, " No set of Improv Dice is worth a cut finger. Don't be a big shot, use a good pair of safety scissors." Secondly, Have Fun and Take your time! The BEST way to enjoy the building of your dice is by working carefully and slowly. There is no time limit for finishing them and no game clock running. |
|
Please remember that you can make as many mistakes as you would like! ( I certainly did. ) The Pages for all of the dice parts will remain for you to print out again if you need them. And Thirdly, PLEASE remember to Clean Up your building area when you are finished working. Dice assembly makes a BIG MESS. ( I once left all my tools and scraps behind after I finished, and I was forced to live on Pluto for a Year! ) |
|
1.) Three sheets of 8 1/2" by 11" inch full page Peel-and-Stick labels* for each Improvisation ball you wish to make. 2.) A simple classic school ruler with a metal straight edge. 3.) A GOOD pair of safety scissors. - blunt ends and wide blade guards. 4.) Clear Adhesive tape. 5.) Two pieces of sturdy cardboard, large enough to back the pieces for each Improvisation Ball you wish to make. |
6.) Some old newspaper pages to 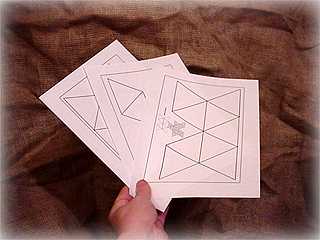
|
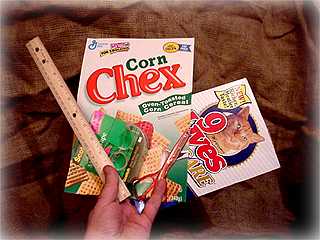
The Dice parts pages that you print are a good starting point, but they must be backed up by a stiffer material. It is necessary to apply the pages to a sturdy layer of cardboard. Cereal Box Cardboard works very well for this.
|
Gather empty boxes, like cereal boxes or Cat food boxes etc. - and cut away the fronts and backs. Larger sized boxes work best, but two of the Dice parts are small, and can share a piece of cardboard if necessary. 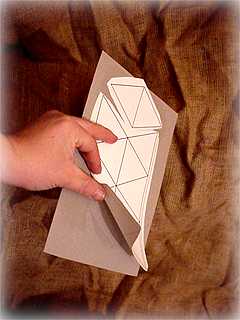 |
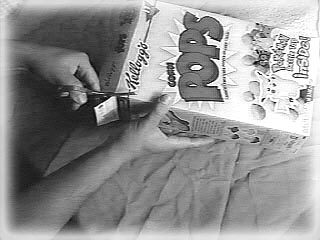
Important tip: You will truly regret emptying the food out of these boxes in order to get the cardboard. To avoid BIG TROUBLE, ask for the boxes when they are already empty and about to be thrown away. It can be helpful to tape a small note to the box as a reminder. |
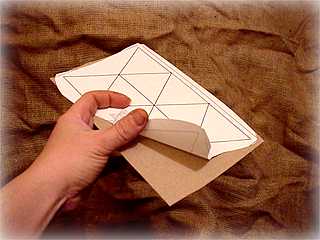
With Your cardboard and printed page side by side, it's time to peel off the backing of the full page label, carefully line it up and apply it to the cardboard. Now, I know what you're saying. You're saying . . . "Leona, Why can't
I just print the Dice Parts onto
regular
paper
The Answer is: You CAN use glue to apply regular printer paper to the cardboard. I would recommend a good quality Glue Stick. Just be sure that you have glue on the WHOLE page, and that it is dry before you try cutting out the Dice Part.
Full Page peel-and-stick labels are recommended because they offer a cleaner, smoother and more uniform bond between the Page and the cardboard. This is Very important in Theater building, but not that vital for these dice. It is not possible to create them perfectly, and small imperfections should not effect the way they roll. I usually like to get all of the printed pages applied to the cardboard before I begin cutting, but you don't have to wait. You can cut them out as they become available. It is up to you. |
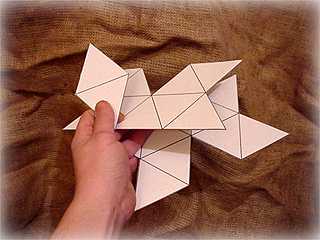
The Instructions you'll see show
a Completely Blank Improvisation
Ball, but they work the same for the Identity Ball and The Situation
Ball.
© 2000 Anim5
")